4. Getting Started
In this section:
4.1. Accessing RepoPro
To access RepoPro, use any standard web browser client (such as Google Chrome, Firefox, or any other browser). The product can be accessed either by logging in as a Registered user or without logging in (when logged in as a Guest user). The access permissions and privileges vary based on the User Role of the user logged in.
To log in to RepoPro as a Registered user:
In your browser’s address bar, type the URL:
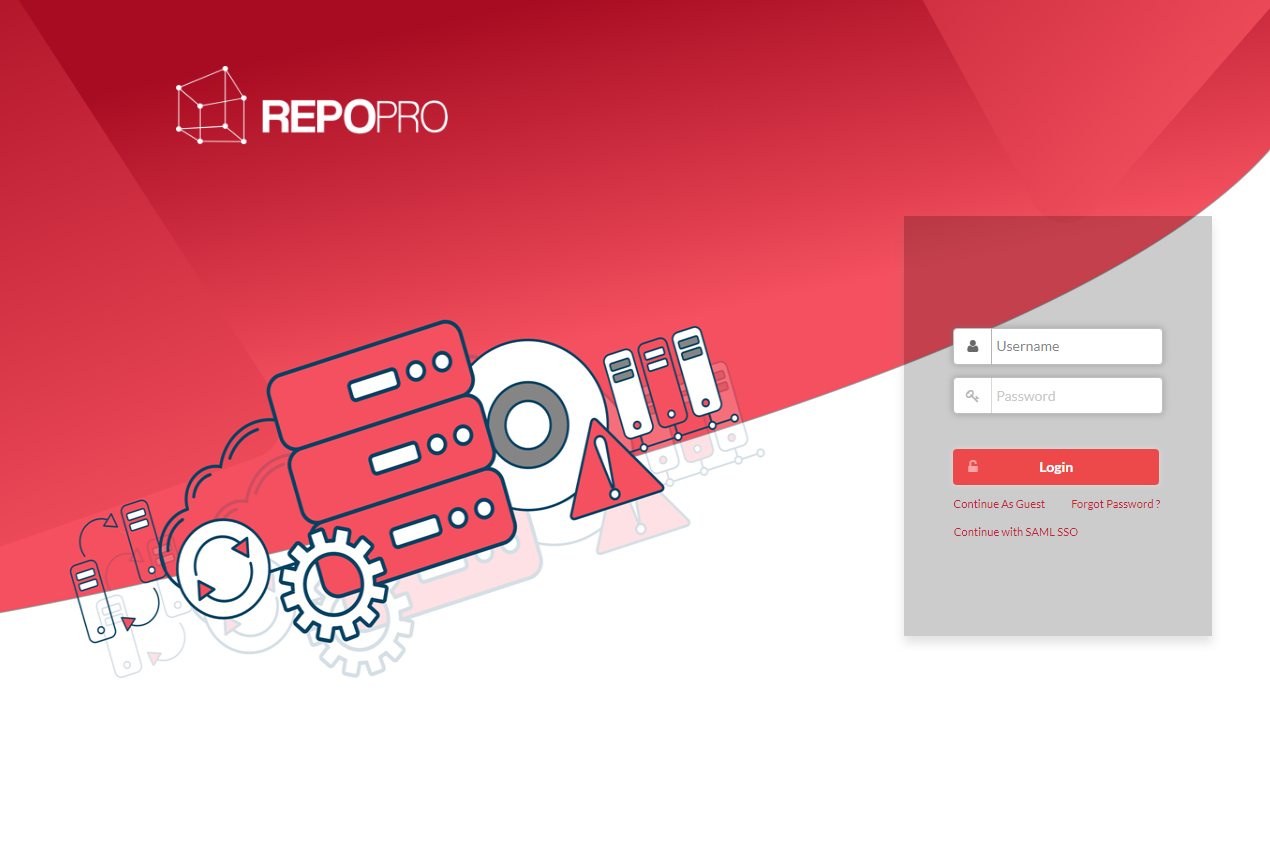
https://<server>/repopro/login.htmlto access the Login page.In the Login page, in the Username box, type in the user name and in the Password box, type in the user password.
Click Login to log in to the application as a Registered user. Upon successful authentication, the RepoPro homepage displays.
To access RepoPro using SAML:
In your browser’s address bar, type the URL:
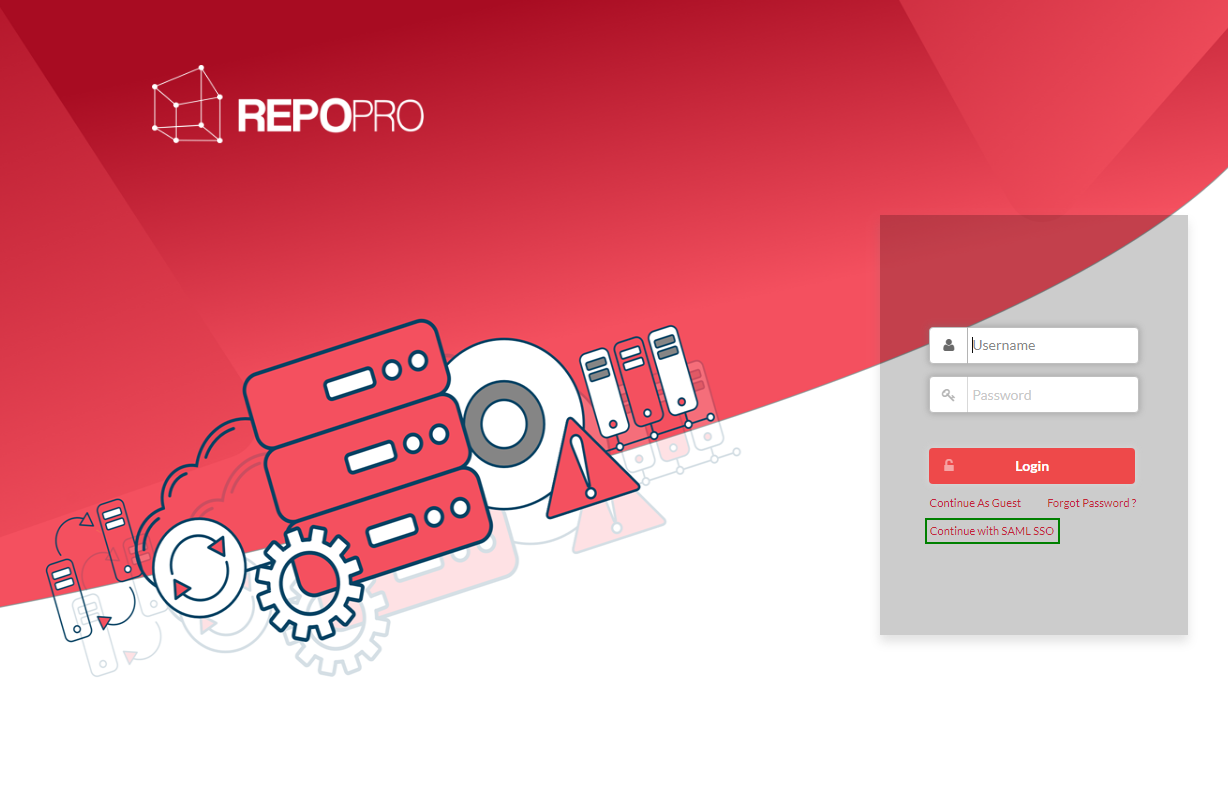
https://<server>/repopro/login.htmlto access the Login page.In the Login page, click Continue with SAML SSO to log in via SAML SSO.
The user is taken to the SSO login page from where the user can log in and get direct access to the RepoPro application. For more information on SAML, visit: User Authentication
Note
Users can also log into the RepoPro application via an Azure AD account. For Azure AD account users, clicking Continue with SAML SSO button will redirect the user to the Azure AD account login page from where they can log in and get direct access to the RepoPro application.
To log in to RepoPro as a Guest user:
In your browser’s address bar, type the URL:
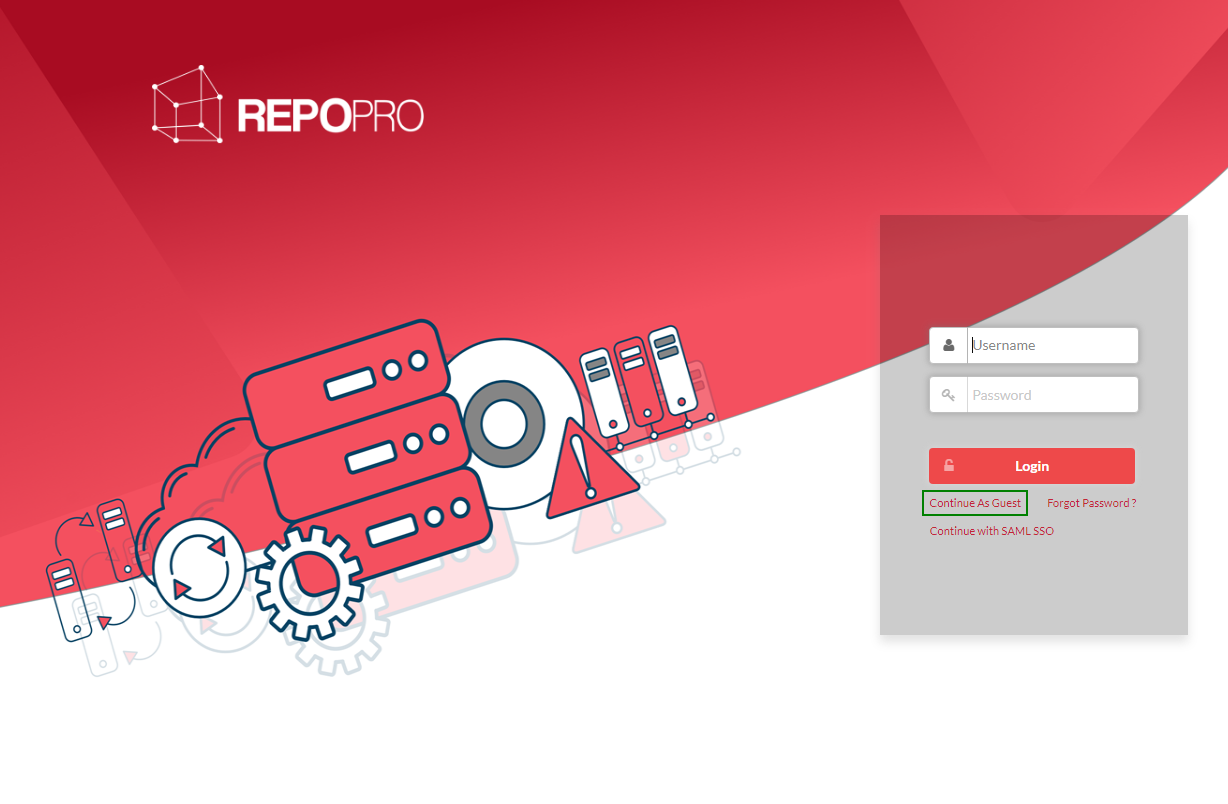
https://<server>/repopro/login.htmlto access the Login page.In the Login page, click Continue as Guest to log in to the application as a Guest. The RepoPro homepage displays.
To reset a forgotten password:
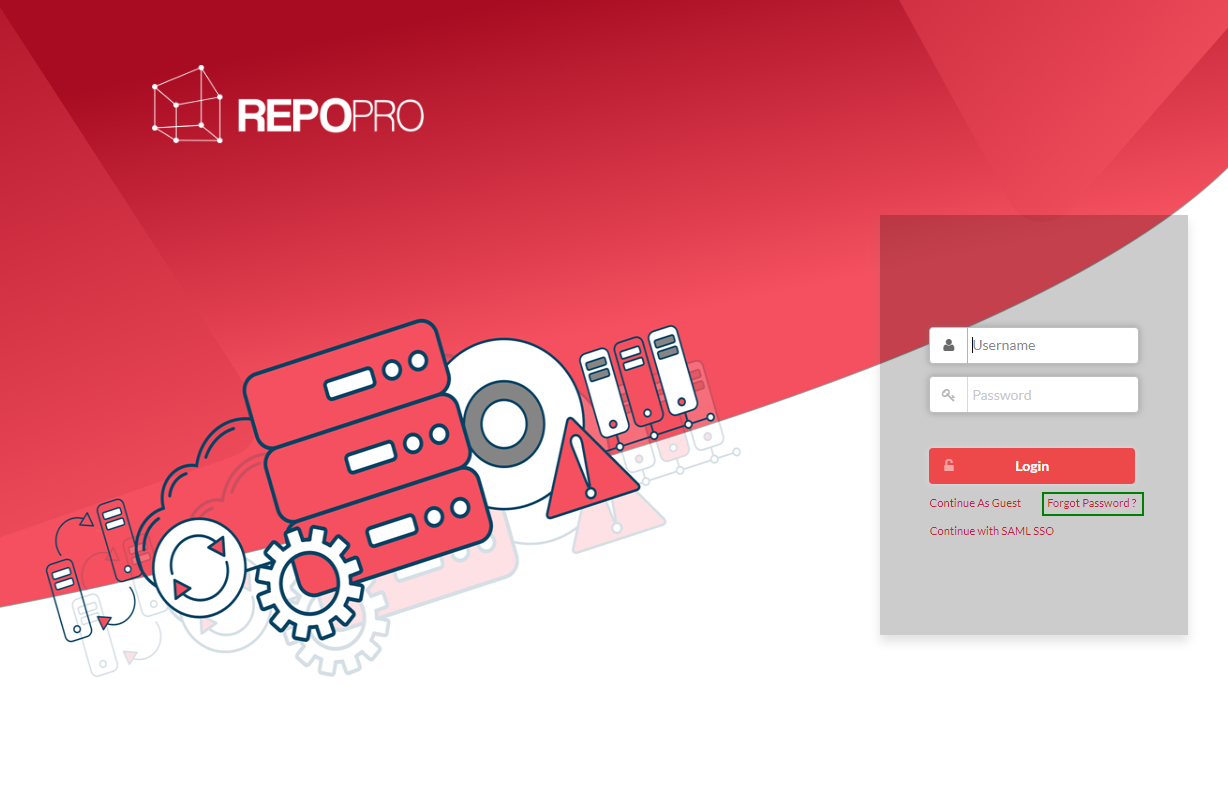
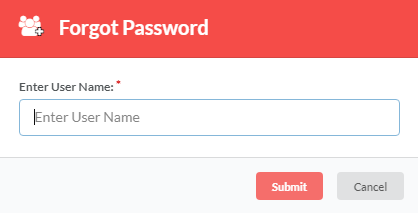
In the Login page, click Forgot Password? to display the Forgot Password dialog.
In the Forgot Password dialog, in the Enter User Name box, type in your user name, and then click Submit. A mail with a link for resetting the password is sent to the user’s mail ID.
The Login feature includes the following other options:
- A non-admin user is allowed three attempts to log in. After the third unsuccessful attempt, the user account gets locked out.
- Typing in the URL
https://<server>/repoproin the browser without logging in will take the user to the login page. - Typing in the URL:
https://<server>/repopro/view/<AssetType>in the browser address bar shows the browse page for <asset type>. This is available to Guest users also, subject to the access permission settings. - Typing in the URL:
https://<server>/repopro/view/<AssetType>/<AssetInstanceVersionIdshows the view/edit page for the <asset instance version id>. This is available to Guest users also, subject to access permission settings.
To log out of RepoPro:
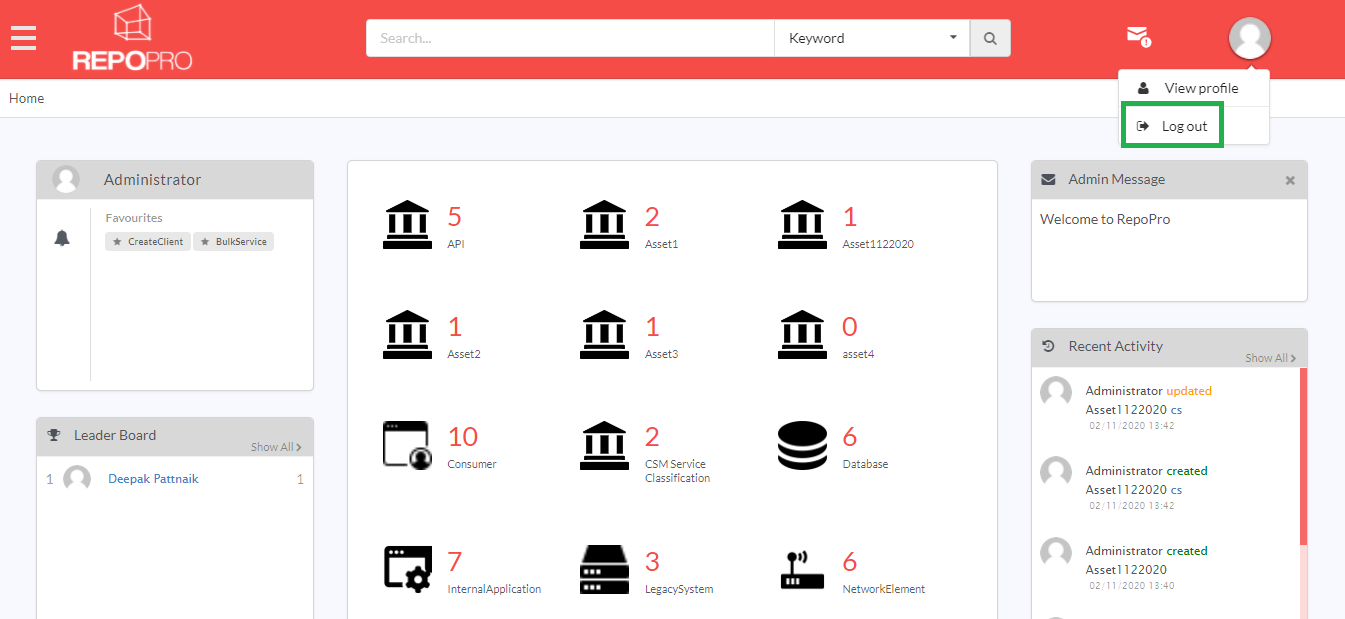
On any RepoPro page, on the header, click the Profile icon (
 ) and then click Log out to log out of RepoPro.
4.2. RepoPro Screens - Common Elements
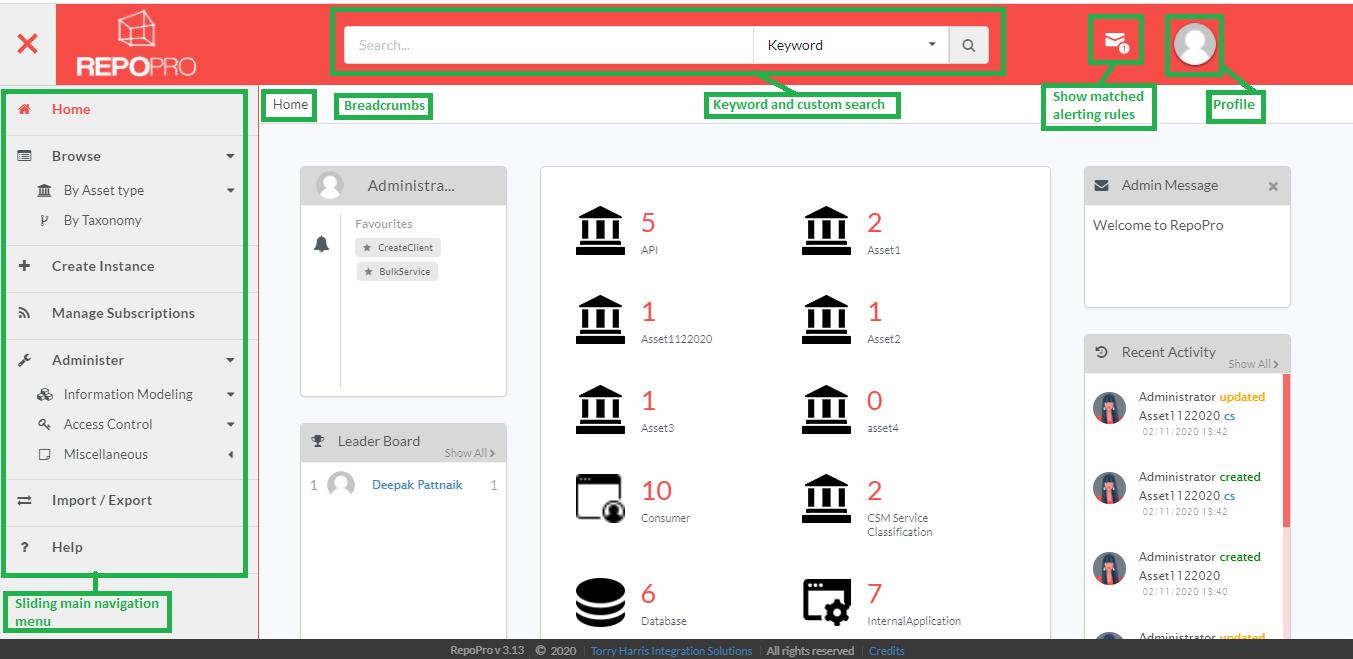
All the screens in RepoPro have two common elements: a header and a footer. The header comprises elements as below:
- Sliding Navigation Menu icon
- Space for Logo
- Search
- Show Matched Alerting Rules
- Profile
- Breadcrumbs
The footer is a one-line element providing details about the copyright, credits and build number.
Show Matched Alerting Rules
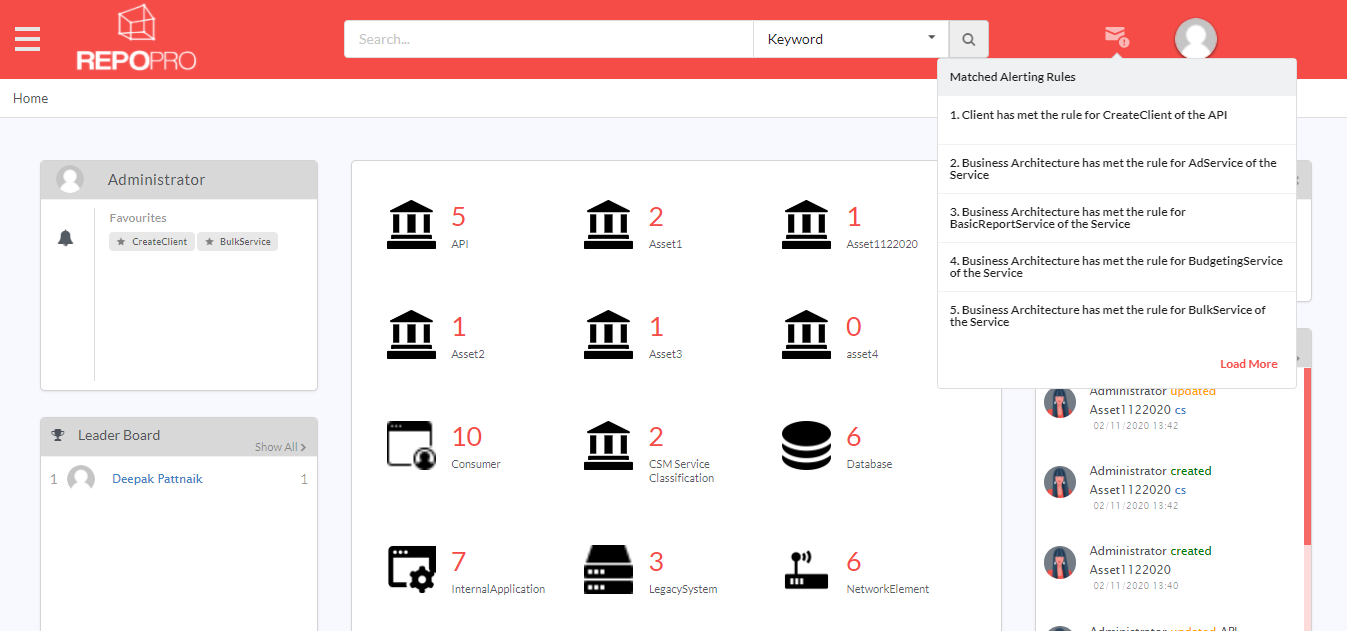
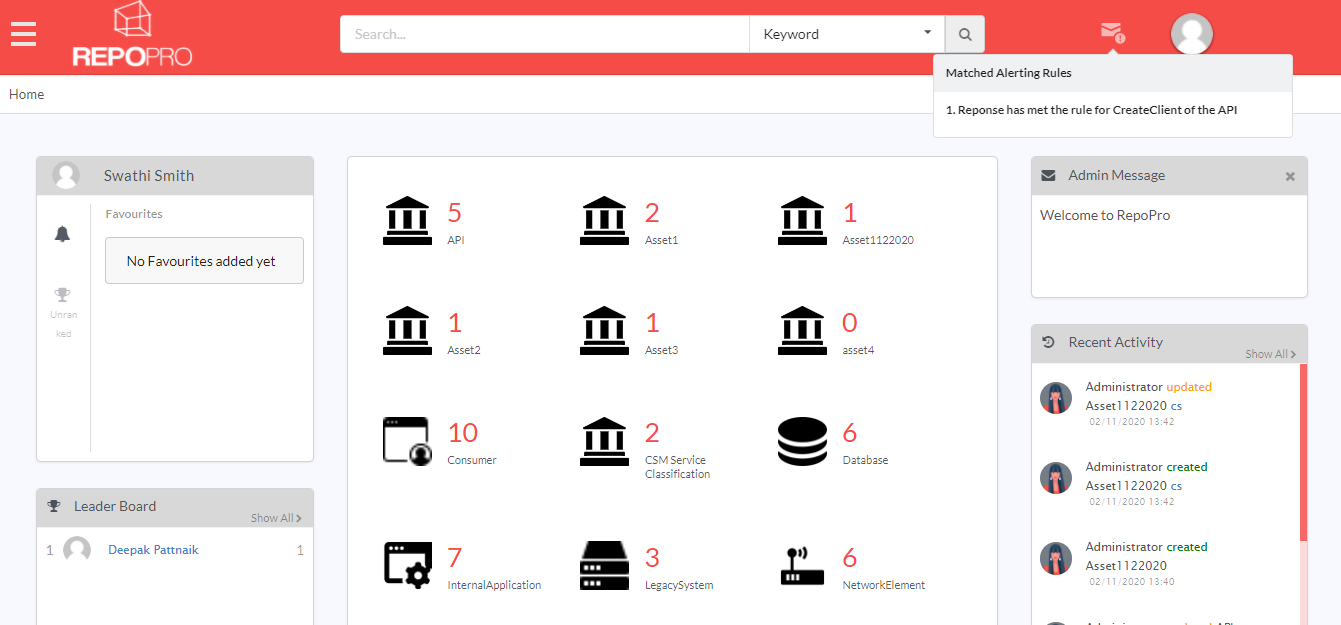
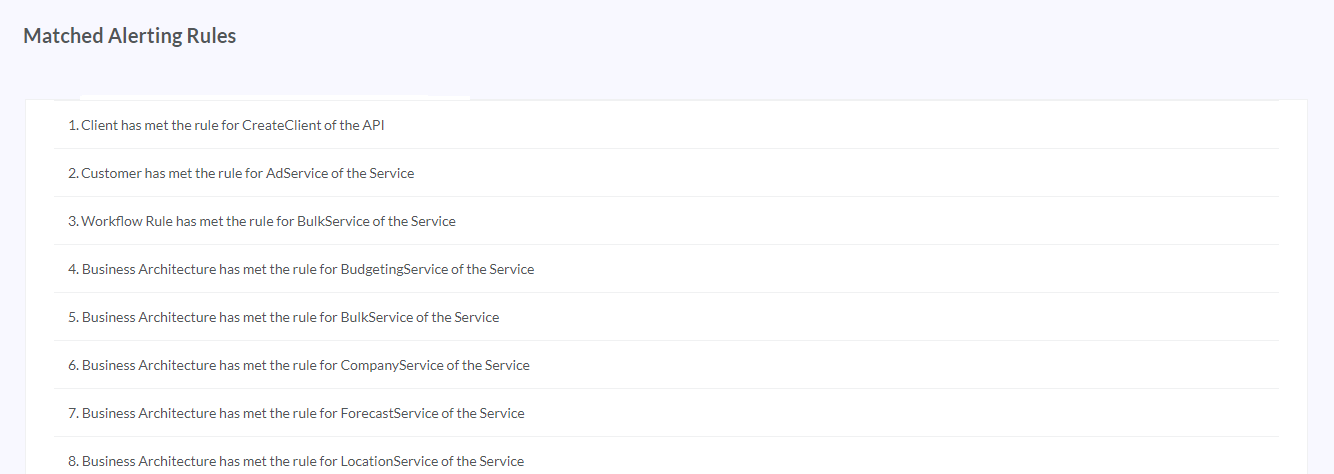
Show Matched Alerting Rules icon ![]() on the home screen allows an Admin or a user to check matched alerting rules. When a user or an Admin creates a rule in the Alerting modal, the user can check if the rule is matched via the Show Matched Alerting Rules option. Only those matched alerting rules that are created by the logged in user/admin will be listed here. Rules that are not matched will not be listed.
on the home screen allows an Admin or a user to check matched alerting rules. When a user or an Admin creates a rule in the Alerting modal, the user can check if the rule is matched via the Show Matched Alerting Rules option. Only those matched alerting rules that are created by the logged in user/admin will be listed here. Rules that are not matched will not be listed.
Matched Alerting Rules modal will only display the matched rules of the logged in Admin or user who has created those rules. Matched rules created at asset level is only visible to the Admin who has created the rule. For users for whom an Admin has created an alerting rule at asset level will not be able to view it in the Matched Alerting Rules modal. Users will only be able to view matched alerting rule that they have created at instance level.
Note
Show Matched Alerting Rules icon will not be displayed for Guest users as this feature is not available for them.
To check for a matched rule:
On the home screen, click
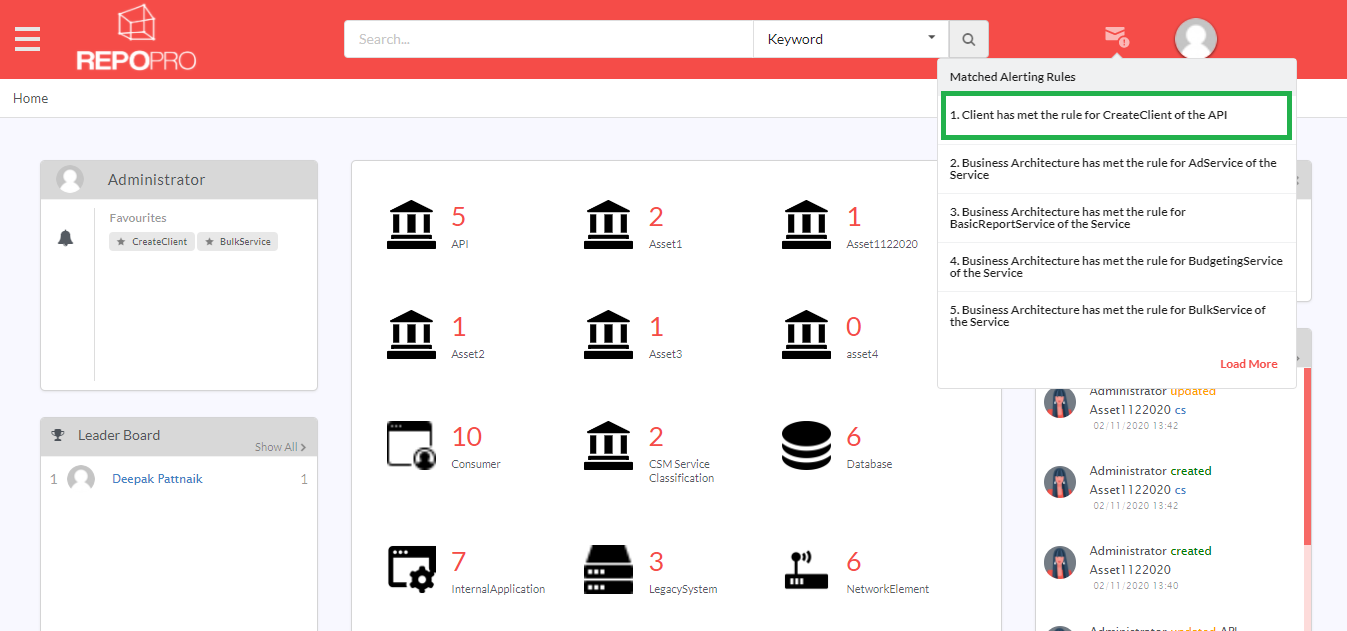
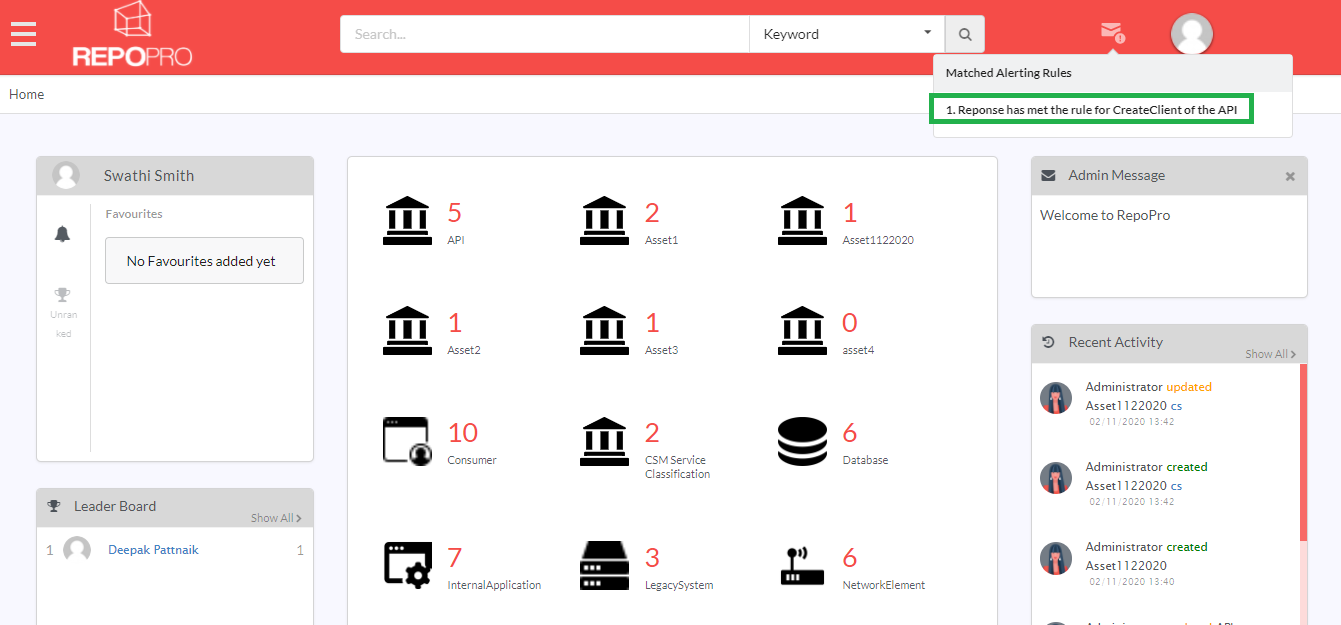
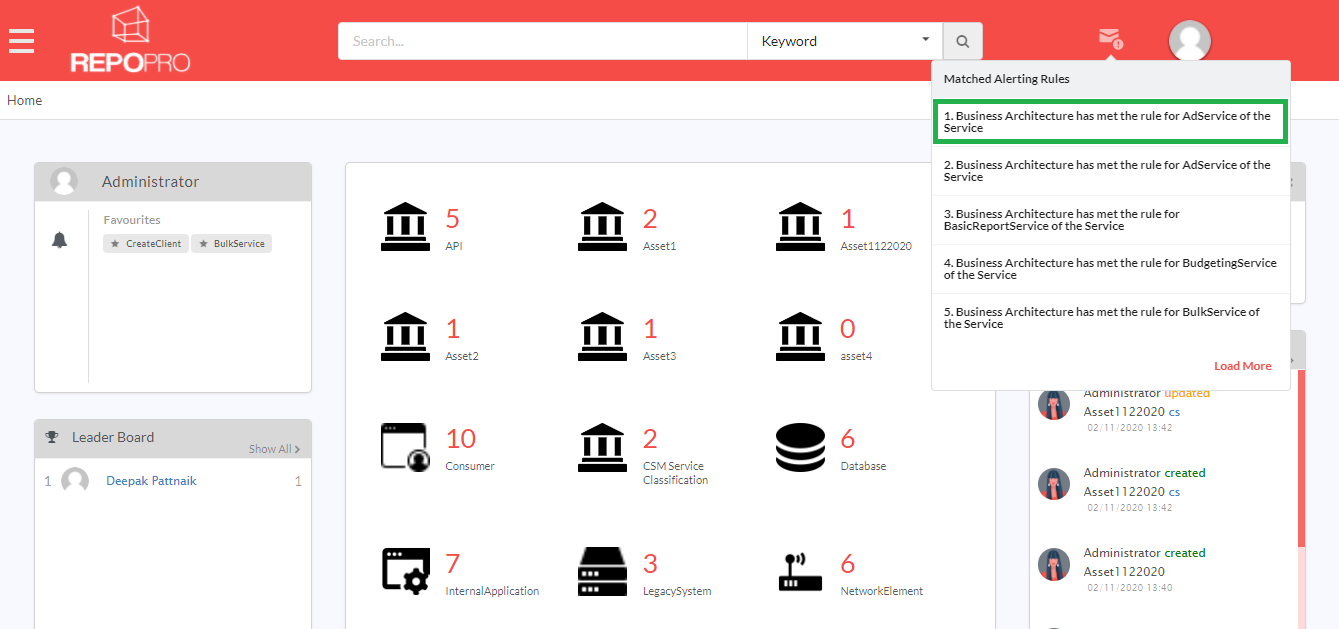
 icon to open the Matched Alerting Rules modal. The modal displays the matched alerting rules of the logged in user or logged in Admin.
From the list, click on a matched rule at instance level to redirect to the Browse <Asset> Instances page of that instance.
Both users and Admins will be redirected to the Browse <Asset> Instances page as alerting modal at instance level can be accessed by both users and Admins.
Users can make changes in the alerting modal at instance level. For any new rule created that is matched, the matched alerting rule will be listed in the Matched Alerting Rules modal. Any matched rule that is deleted from the alerting modal at instance level will also be deleted from Matched Alerting Rules list. Click Enable Alerting at Instance Level to know more.
From the list, click on a matched rule at asset level to redirect to the Edit Asset page of that asset.
Only Admins will be redirected to the Edit Asset page as alerting modal at asset level can only be accessed by them.
Admins can make changes in the alerting modal at asset level. For any new rule created that is matched, the matched alerting rule will be listed in the Matched Alerting Rules modal. Any matched rule that is deleted from the alerting modal at asset level will also be deleted from Matched Alerting Rules list. Click Alerting at Asset Level to know more.
Click Load More to load the full list of matched alerting rules.
Note
Load More option will not be displayed when the number of matched rules are less than or equal to five.
The Matched Alerting Rules screen provides an infinite scroll view. While scrolling downwards, a scroll icon appears. Click the scroll icon  to be re-directed to the top of the screen.
Profile
The Profile icon ( ) on the header displays the user’s profile image. Clicking it allows the logged-in user to view and edit their profile details, and to logout of RepoPro application.
To edit profile details:
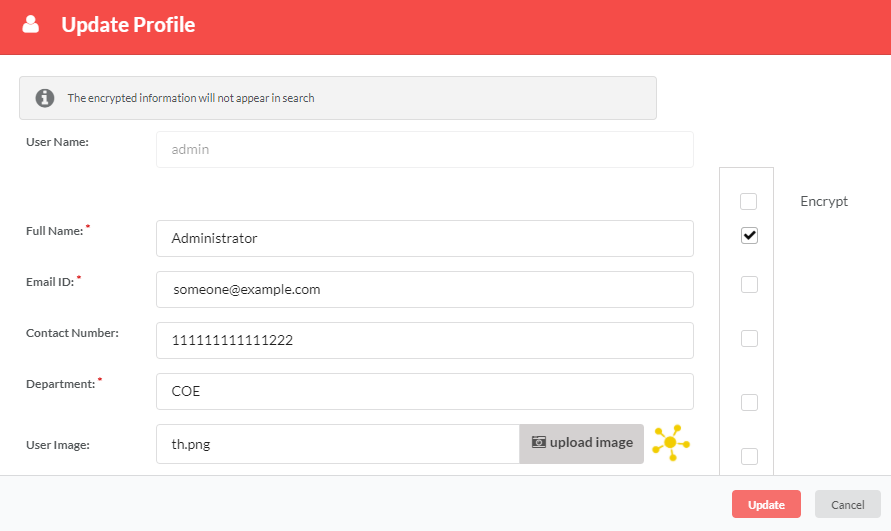
- On any RepoPro page, on the header, click the Profile popup and then click View profile. The Update Profile dialog displays where you can update the profile details .
Note
The View Profile option is available only to the logged-in users.
Note
The User Name field is disabled as it is a reserved field and hence no changes are allowed.
- In the Full Name box, enter your full name.
- In the Email ID box, enter your email ID.
- (Optional) In the Contact Number box, enter your contact number. Here you can enter numerals with a minimum of 10 digits and a maximum of 15 digits.
- In the Department box, enter the name of the Department that you work with.
- (Optional) In the User Image field, click upload image to select an image file for your profile picture. Once the image is uploaded, you can see a preview of the uploaded image.
Note
- Image file types permitted for the upload are: PNG and JPEG.
- The image file size must be less than 1 MB.
- Recommended aspect ratio for images is 1:1.
- For Encrypt Information, click to select/deselect checkboxes corresponding to Full Name, Email ID, Contact Number, Department and User Image fields that you wish to hide/show from other users of the application. You can encrypt/unencrypt all user details at one go by selecting/deselecting the checkbox corresponding to Encrypt Information label.
Note
If user image or contact number is not added, then the Encrypt Information check box corresponding to the User Image or Contact Number field will be disabled. In such cases, the check box corresponding to Encrypt Information label that allows you to encrypt/unencrypt all user details at one go, will also be disabled.
Note
- The encrypted information will not appear in search.
- Any logged in user is able to read his data even though it is secured and also if the logged in user has manage user access. If not then the user details will be in non-readable format.
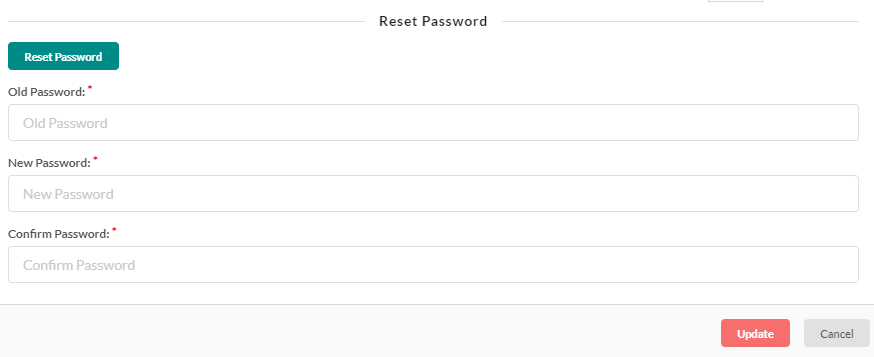
Click Reset Password to display options in an expanded form, if you wish to change your password.
In the Old Password box, enter the presently used password.
In the New Password box, enter the new password.
In the Confirm Password box, re-enter the new Password to confirm it.
Note
While adding the new password, provide a minimum of 8 characters, which can be a combination of alphanumeric and special characters such as !, @, #, $, %, ^, &, and *.
- In the Available functionalities section, select the functionality(ies) that the user wants to assign from the available list. Alternatively, select all to avail all functionalities.
Note
This option is only available to users with group-admin, role-admin and users with Manage Users permission roles. To learn more on user roles, refer: Access Control
- Click Update to save changes and exit the Update Profile dialog.
4.4. Home screen
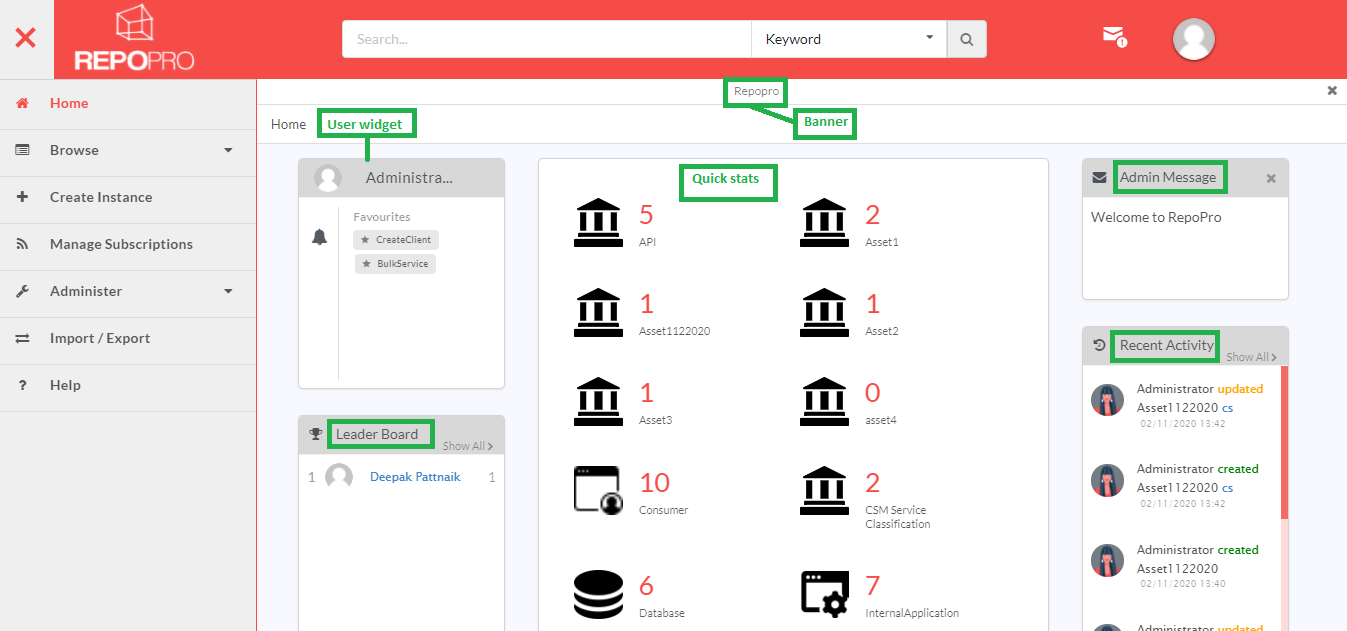
The home screen comprises widgets as marked in the figure below:
- User Widget
The User Widget displays the user role, lists out the logged-in user’s favourite Asset Instances, and has links to the user’s Subscription pages.
Note
The favourite list is only available to logged-in users.
Note
The Rank icon is shown only for the following users: Ldap, normal and SSO users. It will not be displayed for Admin user.
Clicking the Subscription icon (
 ) takes the user to the Subscriptions page. To learn more about Subscriptions, refer the section on Subscriptions.
- Leader Board
The Leader Board widget displays the top-ten ranked active users (excluding admin users) with respect to the gamification elements in the tool. Each row in the list of users has the Points for that user and each row has a link that the user can click to display the Leader Board Details of points for that user. The user who has scored the highest points in the last 90 days is selected as the leader.
- Quick Stats
The Quick Stats widget displays the total number of Asset Instances created for each of the assets. The content varies for guest users based on the access permissions configured.
- Banner
The Banner is meant to publish messages that are urgent in nature and need the users immediate attention. Announcements display as marquee (scrolling text) in the header area and is visible from all screens.
- Admin Message
The Admin Message widget displays the text that the admin has configured under the Message Board option. Admin Messages are meant for users mainly for communicating information of routine nature.
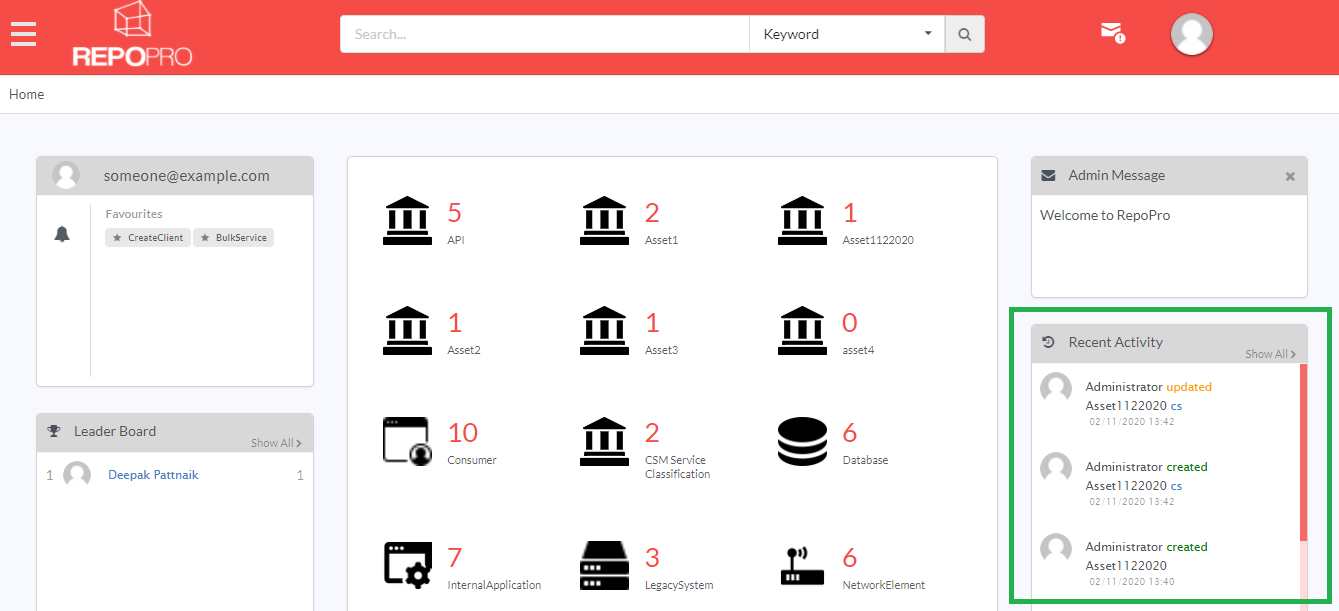
- Recent Activity
The Recent Activity widget displays the ten most recent activities with date and time. Recent Activity captures the actions of creating, updating and deleting Assets, creating an Asset Instance, renaming an Asset Instance, updating Overview Description, Properties and Relationships, and adding, editing and deleting the Versions of an Asset Instance. Each of the actions (create/update/delete) can be distinguished by their colored font labels: (
 ), (
), ( ) and (
 ).
).Each item has a link that the user can click to load the edit asset instance version screen. The content varies for Guest users and other logged-in users (except admin users) based on the access permissions configured.
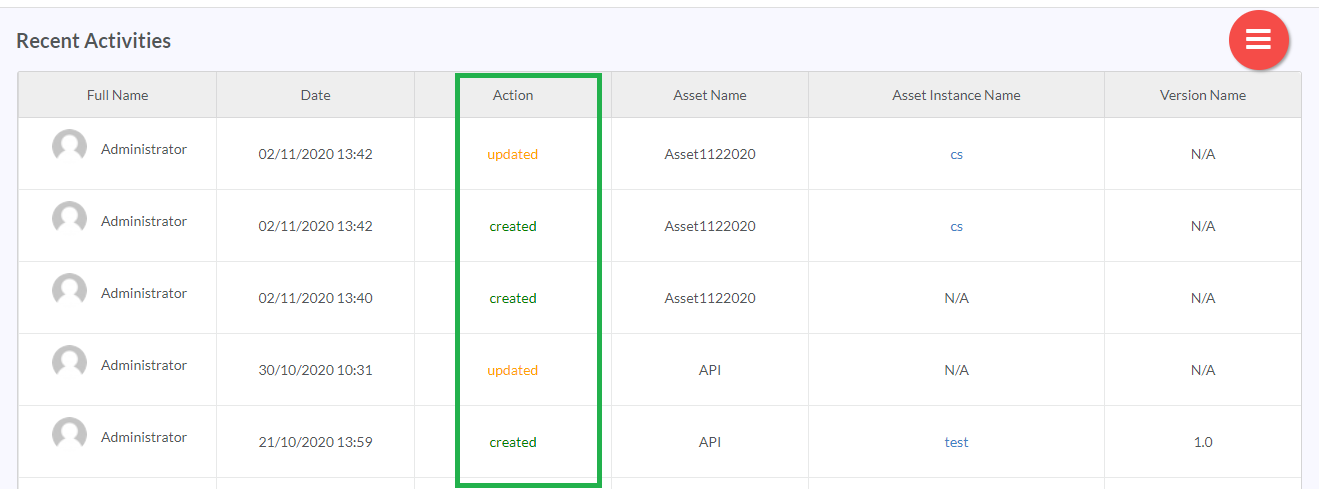
To view all the entries of activity, click the Show All link. The entries display in the Recent Activities page, which has an infinite scroll support.
The entries in the Action column will be displayed as shown below.
To export all the activity details to an Excel sheet, in the Recent Activities page, hover over the hamburger menu (
 ) to display options, click the Export icon (
 ).
).Note
The Export option is available only to the Logged-in users.
Warning
RepoPro creates three folders in the home folder of the server where it is deployed. The product uses these folders to ensure that new WAR releases on the server do not adversely affect the ‘thumbnail images’ feature, images uploaded for the ‘header logo’ and ‘login page logo’ feature, and any modified JSP pages.
- ModularJsps
- ThumbnailImages
- ClientImages
Please make sure that you:
- Do not modify the names of these folders
- Do not delete these folders
In addition, if any JSP files are modified as part of customisation after deployment, please copy the same into the ModularJsps folder. See Widgets section for details.
RepoPro uses a configuration file named “RepoProLdap.txt” in the home folder on the server where it is hosted. Do not delete the file. Do not modify its contents unless authorized by the administrator.
